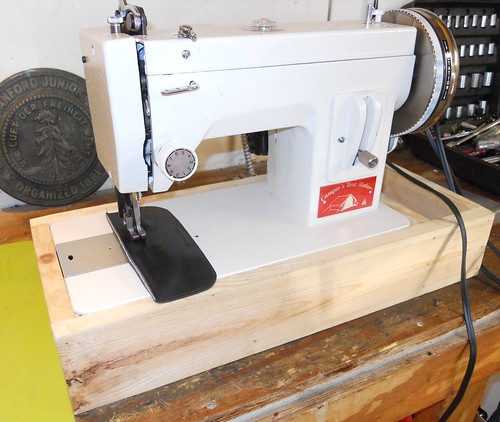
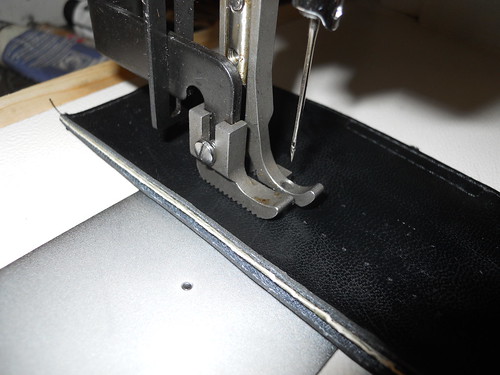
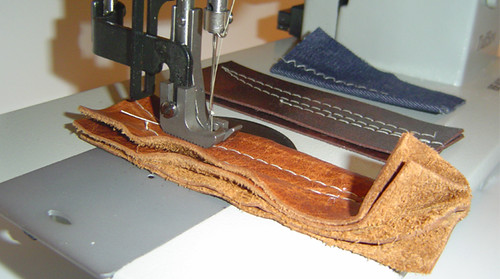
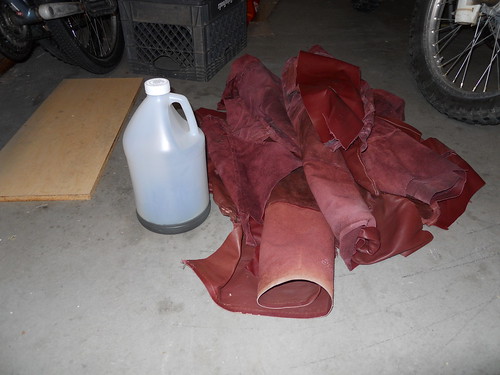
I posted up this tool here for sewing up thick stuff. It's good for repairing shoes, handbags, leather stuff, luggage, tents, car seat covers, etc. Generally good for repairing expensive stuff that has stitching that comes undone.
viewtopic.php?f=6&t=4582&p=65111&hilit= ... ool#p65111
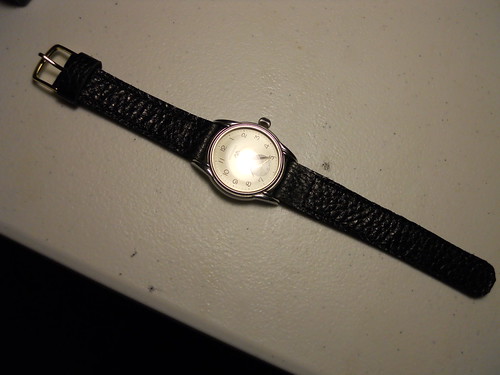
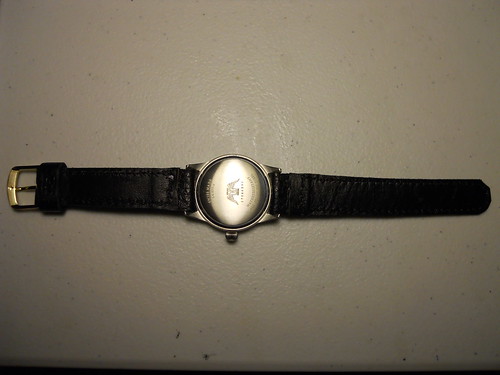
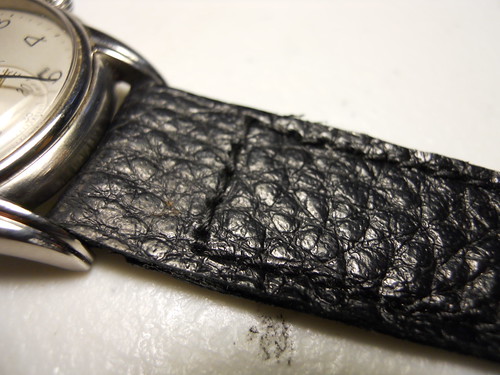
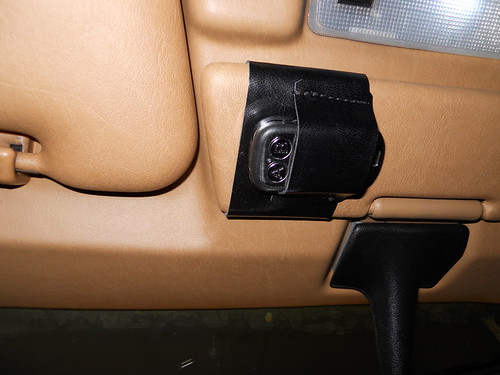
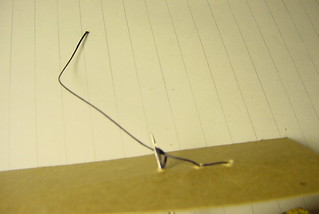
Well, tonight my SO got my attention and said her sandal stitching had come undone at some point. These are pretty pricey sandals and the soles have a lot of miles left. The material was too thick for her to handle - leather + nylon strap + sandal liner. So I quickly stitched it up with my sewing awl shown in the thread above. Here is the result.

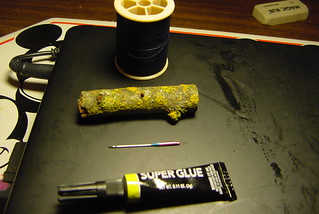
I then realized that this was something you folks would like. What always breaks? Stuff we use and abuse. Expensive stuff. Why toss when a stitch comes out? Why use a crap repair like glue? Let me show you how to stitch it cheap with a "double needle stitch" but using a tool. And instead of using my expensive ($20) tool, lets do it cheap with a homemade tool. You don't need a fancy sewing awl, you just need some tough upholstery thread, a sewing machine needle with a groove from Walmart, some super glue, a hardwood stick and some patience.
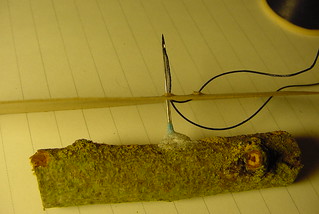
I wanted to make this really cheap so rather than using a milled piece of hardwood dowel I went out to the yard and cut a dry branch off my almond tree. That was hard wood. I drilled a little hole in it with a hand drill (technically a pin vise). So here is what I have so far:
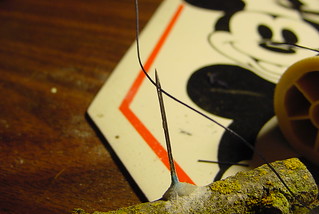
Now we need to fit the needle into the wood handle. I use super glue to secure it. A little baking soda works as a poor man's catalyst to instantly cure the superglue. Just sprinkle some on and bam, your glue is dry. Nice trick huh?

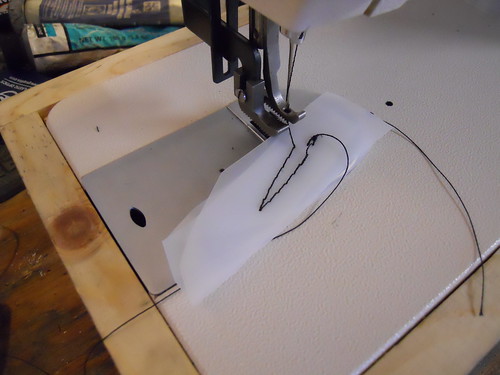
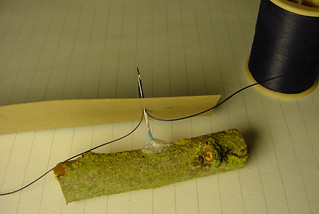
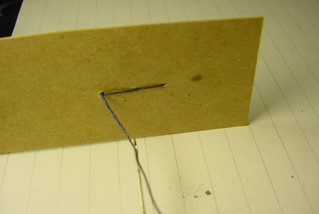
Okay, so you have your sewing awl. Now you need to thread it. Just thread the needle like you would a sewing machine. Go in the side of the needle with the groove in it. This is important because the groove will allow the thread to slip on one side of the needle while it catches on the other ungrooved side while you're sewing. You'll be able to form a loop by slightly retracting the needle from your material. To show you how it's done, I'll use a strip of cardboard.
Ready to sew.

Poke the needle through the material.
Withdraw the needle a few mm's and you'll form a loop on the ungrooved side of the needle. That is the importance of the groove.

You want to pull this loop all the way through to the top so the end of the thread looks like this on the top surface. Pull through enough tail to complete your anticipated stitch. So if you want a 10mm stitch, you want to pull through more than 10mm and have it dangling on the top side. You'll want some extra length for a knot too.

Now withdraw your needle all the way out and leave the tail end of the thread poking through the sheet. Move to the left a bit and start your stitch by poking another hole.
Again, slightly withdraw the needle a few mm's. Your thread will form a loop as it drags on the ungrooved side of the needle and material. Pull back just enough to make a loop but don't fully withdraw the needle.
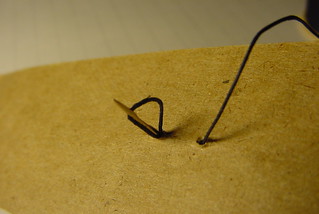
Now thread your dangling thread on the top side through the loop as shown below:

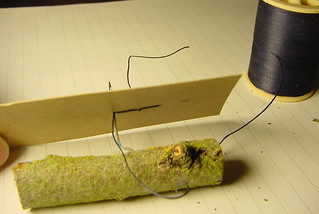
Withdraw your needle and presto, you have formed your first overlock stitch. You're basically doing what a sewing machine does. This is a double needle stitch that cobblers use. But you are doing it with one needle and this clever tool.

Move the needle a little over to the left and poke it through again.
Pull it back slightly to form your loop.
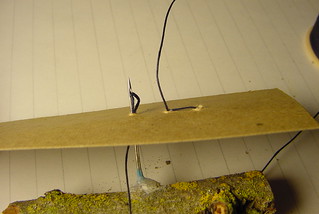
Thread the dangling thread on top through your loop.
Withdraw your needle and presto, another beautiful stitch.

Repeat.
And repeat.

And repeat.
Hope that was clear enough. You don't really need the fancy sewing awl. All you need is a Singer type sewing needle with a groove. This is just dandy for fixing all that expensive stuff that you use and abuse and pull the stitching out of. I've saved so much money with this trick. Now you can too! My gut feel is that dental floss will work as a great repair thread. Waxed will be nice and sticky and easy to handle. You can get really fancy with the tool and put a nail through it to hold a spool of thread like the commercial sewing awls. Don't forget to tie a nice knot at the end with the loose ends or you'll be doing it again soon.
Please be careful and don't poke yourself. Perform at your own risk.