Fixit Log
Posted: Wed Mar 07, 2018 2:26 pm
I fix a lot of stuff to save money. I thought I'd post up a few things here as I complete them since members like money saving fixes. Feel free to post up some of your own. I'm always eager to learn new ways to make money saving repairs.
I'll start out with my latest project. My Carrier Furnaces. Repairmen can get expensive on these. In California, we are not allowed to fix these without a contractor's license and we cannot even buy parts over the counter. At my mom's, when the furnace broke in the past her caregivers would just call the repairman and send a bill. This got into the hundreds of dollars. Sometimes they just came in and did something silly like tightening some electrical connections. So I started by telling the ladies to call me first and let me take a look.
Using YouTube, I became my own HVAC repairman. Simple tools like screwdrivers and wrenches along with a free Harbor Freight Tools digital voltmeter was all it took to do a blower motor, a flame sensor cleaning, an ignitor replacement and most recently on my residence, two controller board swaps.
I have some photos of the controller board swaps. The specific information regarding the operation, removal and replacement of your particular controllers can be found on YouTube. I'll fill in some general purpose tips that helped. In other words, this is not a tutorial, but more a slideshow and journal for your entertainment and inspiration.
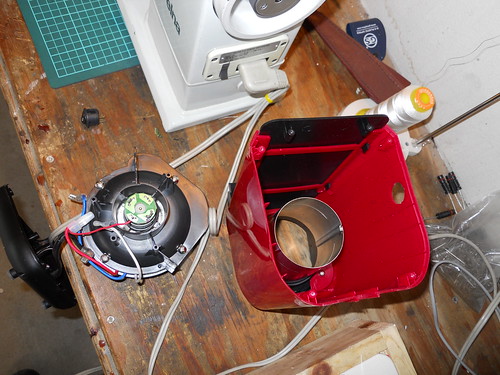
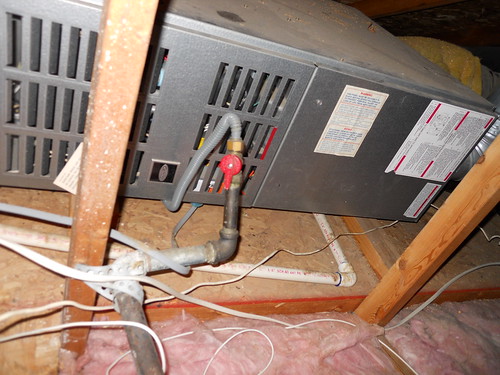
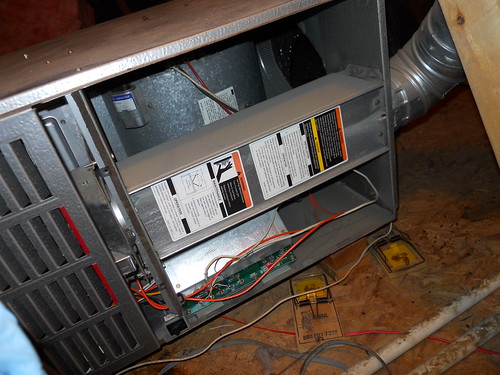
This is what I have in my crawl space. Two of these. They have been getting flakey lately. Sometimes they don't light up and heat. FIRST DISCONNECT THE POWER OR OPEN THE BREAKER.
It turns out they both failed in the same way. Using a voltmeter I was able to determine that the call signal came from my wall controls but it didn't get further than turning on the inducer blower and ignitor. A handy flow chart for debugging found on the inside of the furnace indicated that the next step should have been turning on the gas. I wasn't getting gas flow nor was I getting voltage at my gas valve. The limit sensors all checked out good on my meter and so did the pressure switch. There was really nothing left but the controller board.
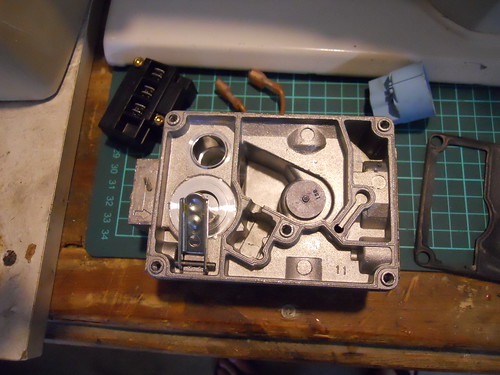
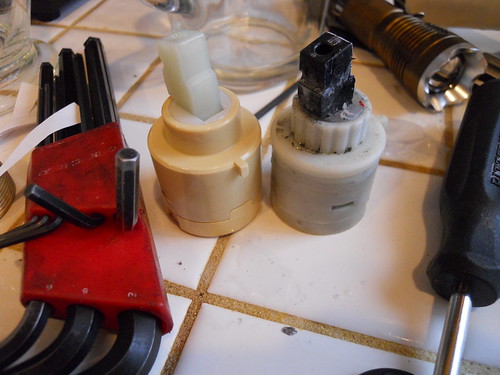
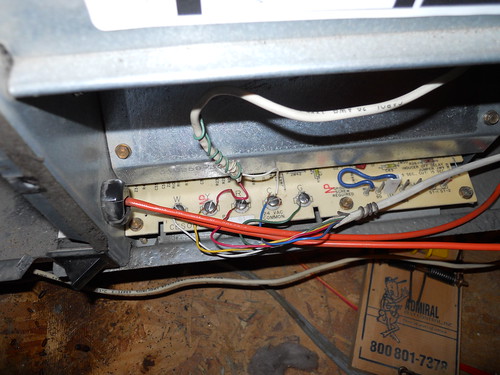
So I open the doors and expose the controller pcbs. Simple eight bit microcontroller designs to check a bunch of sensors and sequence lightup. Not rocket science.
expose the board.
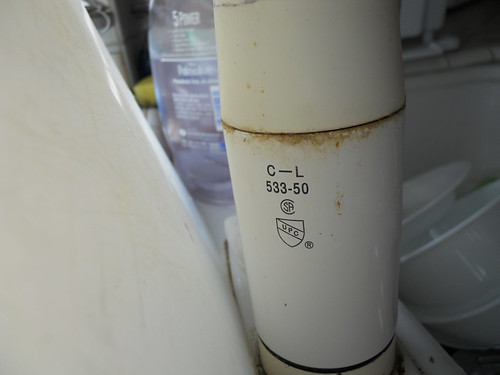
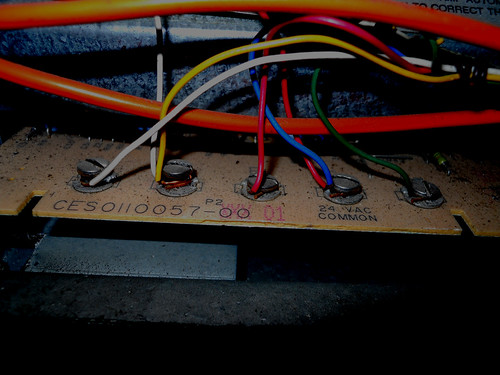
find the part number
Go search online for a replacement. I found some on ebay for $40 each. They were used which may be problematic because they could fail for the same reason as the old ones. I learned a little more about this too and I'll discuss this at the end.

searching, searchhing, searching...,
After obtaining replacements I carefully photograph the wiring connections so I know how to put it all back together. Photos are free.
Swap out the old boards and install the newer ones. Button it all up. Presto, working furnaces. I'm nice and warm now.
But why did those thirty year old boards fail anyway? This is the next level of complexity. If you can figure out what is wrong with the boards and replace the components you can save even more. Right now I'm in $80. But what if a $0.15 electronic component is failing on the boards? Well, as the movie said, "I gots to know man."
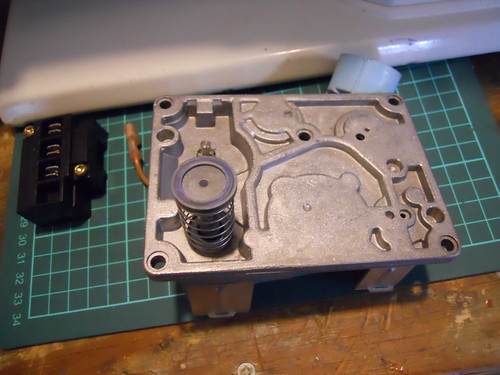
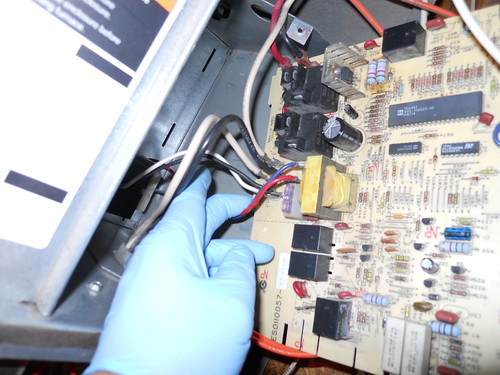
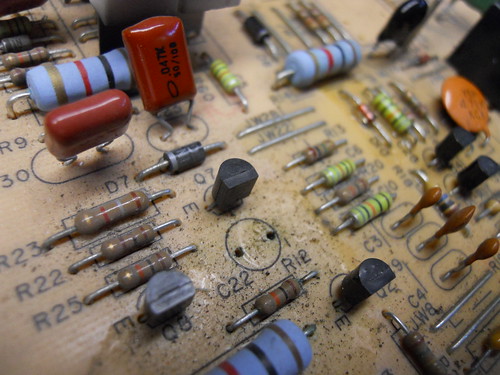
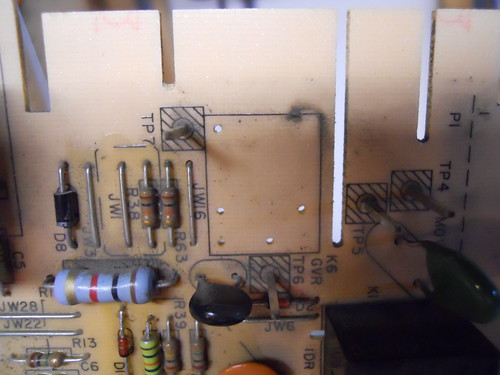
So the boards go to the bench in the garage.
I find a leaky electrolytic capacitor on both. It seems to be related to the gas valve actuation circuit but I cannot figure out how or why they need this big 47uF capacitor to close a relay. I check the relays and find their contact resistance is 2x out of spec at 200 mohms. (okay, I did this on a Kelvin connection four wire ohmmeter, not quite Harbor Freight). So the relay to activate the gas is worn. I study the circuit and figure the capacitor is used to provide a pulse of current to the relay to close it, then as it charges up the current consumption drops and the relay is held closed using a small resistor. We call it catch and hold drivers for solenoids and relays. The original designers never thought thirty years down the road the hot environment in the furnace would slowly boil out the electrolyte in the capacitor and render it useless thus making it impossible to turn the gas on.
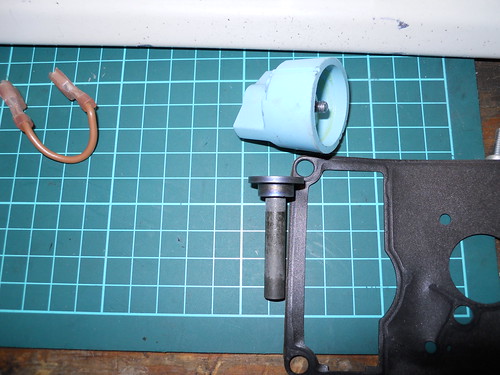
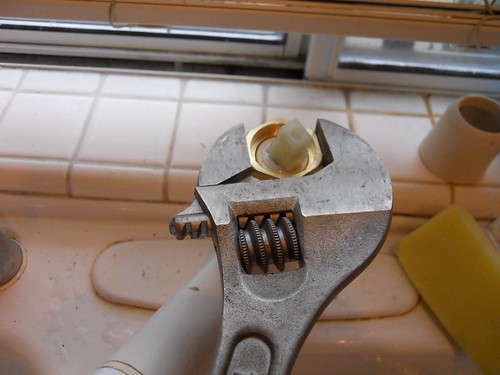
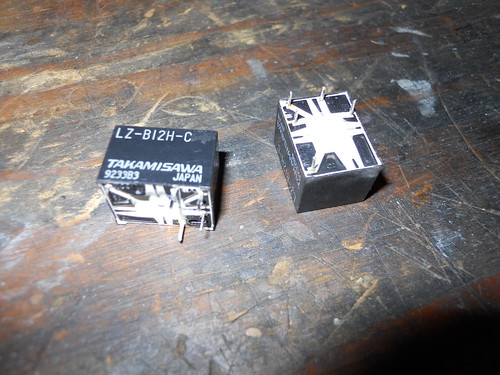
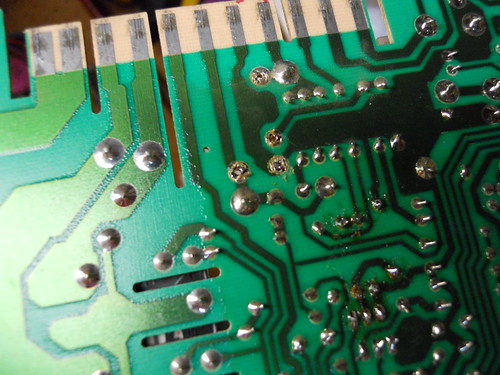
Here is the removed components, cap and relay. Note the oily substance on the board.
I pulled the relay and noticed Fujitsu rates these for 10^5 electrical connections and a quick back of the envelope calculation shows my heater has turned on and off about 40% more times than that. Curiously I think it is because my "smart" thermostat controls temperature to within 1 degree F and with this tight control band the heater turns on and off about three times as often as the original Carrier designers anticipated. So out go the worn relays.
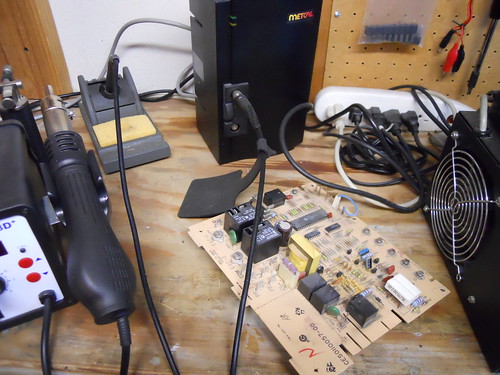
working, working, working.
Desoldering work.
New parts show up in mail. Yep, $0.15 parts. What happened to Radio Shack? I cannot get this stuff over the counter anymore. I guess selling single components to fixit people like me for dimes isn't a business.

Not quite done yet but soon I'll test my repaired boards. I guess I'll have some spares in the meantime. This is why new boards that cost 2x as much may be a wiser choice. I got cheap and got working old boards on ebay. Hope this inspires people. YouTube is a game changer. I hope their new monetization scheme doesn't destroy the good DIY content.
I'll start out with my latest project. My Carrier Furnaces. Repairmen can get expensive on these. In California, we are not allowed to fix these without a contractor's license and we cannot even buy parts over the counter. At my mom's, when the furnace broke in the past her caregivers would just call the repairman and send a bill. This got into the hundreds of dollars. Sometimes they just came in and did something silly like tightening some electrical connections. So I started by telling the ladies to call me first and let me take a look.
Using YouTube, I became my own HVAC repairman. Simple tools like screwdrivers and wrenches along with a free Harbor Freight Tools digital voltmeter was all it took to do a blower motor, a flame sensor cleaning, an ignitor replacement and most recently on my residence, two controller board swaps.
I have some photos of the controller board swaps. The specific information regarding the operation, removal and replacement of your particular controllers can be found on YouTube. I'll fill in some general purpose tips that helped. In other words, this is not a tutorial, but more a slideshow and journal for your entertainment and inspiration.
This is what I have in my crawl space. Two of these. They have been getting flakey lately. Sometimes they don't light up and heat. FIRST DISCONNECT THE POWER OR OPEN THE BREAKER.
It turns out they both failed in the same way. Using a voltmeter I was able to determine that the call signal came from my wall controls but it didn't get further than turning on the inducer blower and ignitor. A handy flow chart for debugging found on the inside of the furnace indicated that the next step should have been turning on the gas. I wasn't getting gas flow nor was I getting voltage at my gas valve. The limit sensors all checked out good on my meter and so did the pressure switch. There was really nothing left but the controller board.
So I open the doors and expose the controller pcbs. Simple eight bit microcontroller designs to check a bunch of sensors and sequence lightup. Not rocket science.
expose the board.
find the part number
Go search online for a replacement. I found some on ebay for $40 each. They were used which may be problematic because they could fail for the same reason as the old ones. I learned a little more about this too and I'll discuss this at the end.
searching, searchhing, searching...,
After obtaining replacements I carefully photograph the wiring connections so I know how to put it all back together. Photos are free.
Swap out the old boards and install the newer ones. Button it all up. Presto, working furnaces. I'm nice and warm now.
But why did those thirty year old boards fail anyway? This is the next level of complexity. If you can figure out what is wrong with the boards and replace the components you can save even more. Right now I'm in $80. But what if a $0.15 electronic component is failing on the boards? Well, as the movie said, "I gots to know man."
So the boards go to the bench in the garage.
I find a leaky electrolytic capacitor on both. It seems to be related to the gas valve actuation circuit but I cannot figure out how or why they need this big 47uF capacitor to close a relay. I check the relays and find their contact resistance is 2x out of spec at 200 mohms. (okay, I did this on a Kelvin connection four wire ohmmeter, not quite Harbor Freight). So the relay to activate the gas is worn. I study the circuit and figure the capacitor is used to provide a pulse of current to the relay to close it, then as it charges up the current consumption drops and the relay is held closed using a small resistor. We call it catch and hold drivers for solenoids and relays. The original designers never thought thirty years down the road the hot environment in the furnace would slowly boil out the electrolyte in the capacitor and render it useless thus making it impossible to turn the gas on.
Here is the removed components, cap and relay. Note the oily substance on the board.
I pulled the relay and noticed Fujitsu rates these for 10^5 electrical connections and a quick back of the envelope calculation shows my heater has turned on and off about 40% more times than that. Curiously I think it is because my "smart" thermostat controls temperature to within 1 degree F and with this tight control band the heater turns on and off about three times as often as the original Carrier designers anticipated. So out go the worn relays.
working, working, working.
Desoldering work.
New parts show up in mail. Yep, $0.15 parts. What happened to Radio Shack? I cannot get this stuff over the counter anymore. I guess selling single components to fixit people like me for dimes isn't a business.
Not quite done yet but soon I'll test my repaired boards. I guess I'll have some spares in the meantime. This is why new boards that cost 2x as much may be a wiser choice. I got cheap and got working old boards on ebay. Hope this inspires people. YouTube is a game changer. I hope their new monetization scheme doesn't destroy the good DIY content.