Hey folks. Here are some more van progress pictures:
ELECTRICAL - WIRING
STATUS:
- Array is wired and framed up, but sitting in my house. I need to get it up on top of the van and run the cables inside.
- Most of the components are mounted inside the van. Still need to mount the panel stuff (Switches, outlets, inverter)
- Most of the wiring is done for the components that are in place.
- Need to decide on battery type and buy battery/batteries. I’m pretty sure that I will get AGMs - either one 4D or two GC2 sizes.
Here’s a look at most of what is inside.

On the right wall is (From left to right)
- Switch on array cable
- Charge Controller
- Fuse on positive charge controller output
- Positive bus bar
- Switch between positive bus and battery
- Switch between battery and inverter
On the “ceiling” is:
- Negative bus bar
- Shunt for battery meter
And on the back wall is a load/fuse junction.

The battery/batteries are going to be right under all these components. Those blue lines on the wall are an outline of the space the battery will take up.
I got started on the front panel. This panel will hold the following:
- Switches for lights. (on/off and dimmer)
- Two USB outlets, with on/off switches
- Two cigarette lighter outlets
- Battery monitor
- Inverter (converts to AC and has normal wall-type outlets)
(The metal part is for mounting the light dimmer switch on)

Here is the panel with most of the components in place (Just imagine it rotated 90 degrees clockwise)

I will be putting a front cover on the whole thing, probably with a cabinet door for quick access.
CURTAINS
I messed up and sewed one of the fabric pieces on backwards (on the driver's side rear door window). I used all the fabric so I didn't redo it.
From the outside, nearly all light is blocked. There are a couple places where some light gets through if you look at it from the right angle. These are the top of the front curtain (which is shown in one of the pictures) and the first window cover I installed. I’ll probably redo the snaps on the window cover and add more snaps or more fabric to the front curtain.
I used a LOT of snaps. Way more than what is actually needed. I kept thinking I should use fewer and then I still went ahead and used a lot.
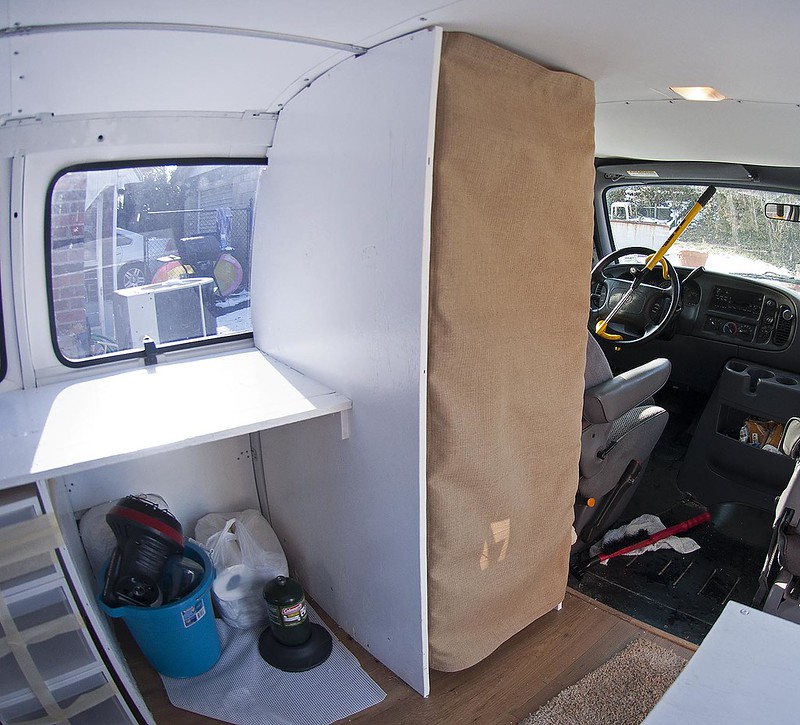
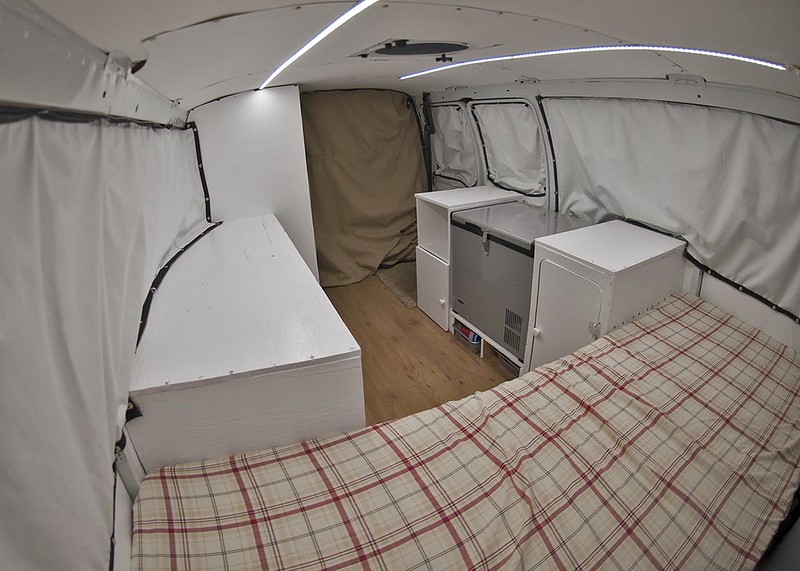
View from the back
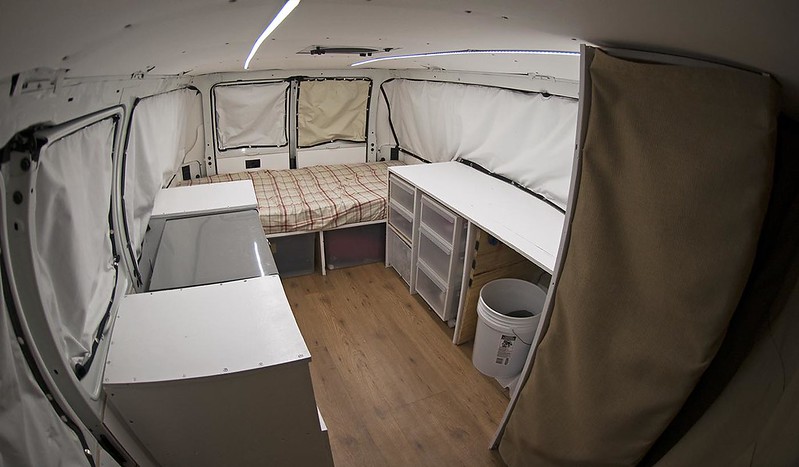
View from the front
This one also shows how the desk setup works. I move the set of drawers out of the way and position the bucket with the airplane neck pillow as a seat rest. It is quite comfortable.

View from the outside, with the lights still on inside the van:

View through the passenger window, where you can see some light leaking through above the front curtain

Also, I set up these bungee cords to hold the drawers in place and closed while driving. I was hoping for a more visually appealing solution - the airplane quarter turn retainers - but they were way too expensive and I just wanted to get this part done. The cords work great and are easy use. I put in screw eyes on the floor and desk to hook the bungee cords into.