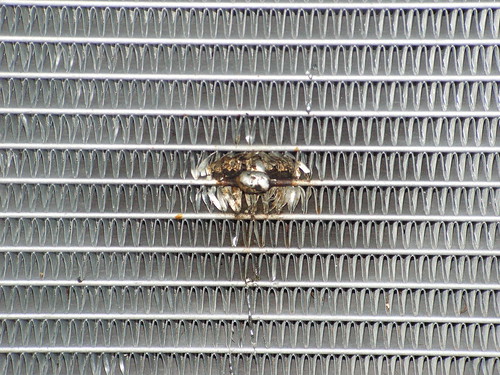
Radiator fix is holding. I did a lot of work on my home brew frankenstein air conditioning system. I thought I'd post it up but I thought I'd focus more on the hose clamping techniques I used here. Hose clamping is a really useful technology. Low barrier of entry. Strong. Makes good repairs to a lot of household stuff where two objects need to be strapped together semi permanently. Like mending a broken lawn rake. Or connecting a water bottle cage to a bike frame without braze on studs. There are some other bits and pieces at the end of the post like how to bend custom freon lines and how to repair an obsolete GPS that won't power on anymore.
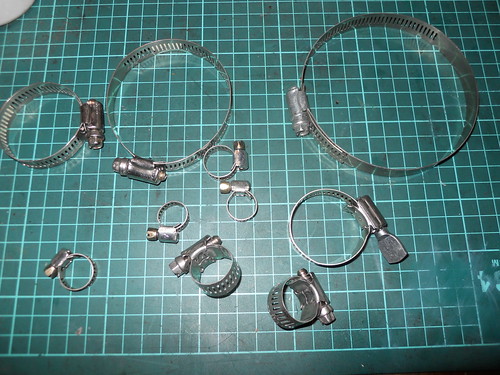
I did a lot of hose clamping for the AC. Mostly crimp type hose clamps. I'll show three types here. Worm gear (easiest to use and cheap), oetiker, and crimp. I clamped water lines, transmission cooler lines, freon (actually R134a) lines and others.
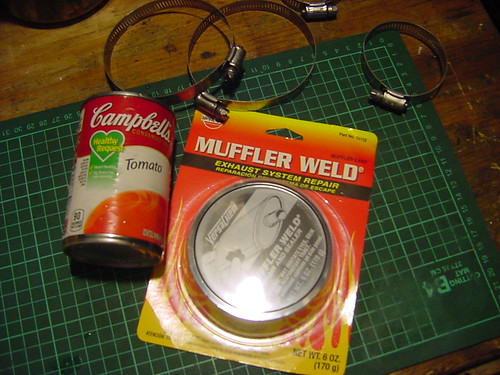
Hose clamps! Great for fixing things that need to be held together. Make a spear out of a steak knife and broomstick. Fix old garden tools. Tools required, screwdriver to tighten. Cheap. Very useful. For those who don't know, now you know. This goes up there with my favorite fix tools superglue, wire and duct tape.

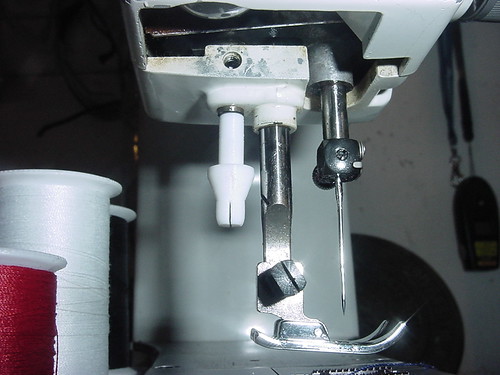
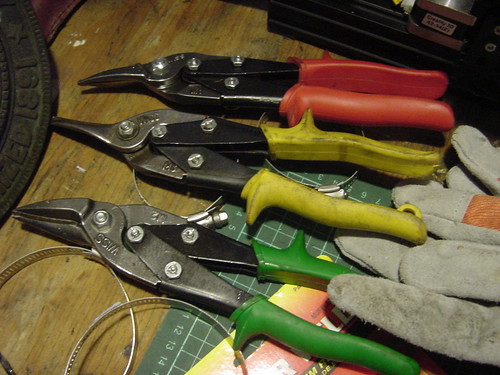
Did some tricky heater line work on my Mercedes. Using bent hose sections linked together to make a curvy hose.

Next, Oetiker clamps. Clamped on with special pliers. Tamper resistant. Nice symmetric clamping. Holds moderate pressures. No stripping of worm drives in conventional clamps. Can be used for moderate pressures like engine oil and transmission lines. Sometimes used on AC lines with appropriate barb fittings.

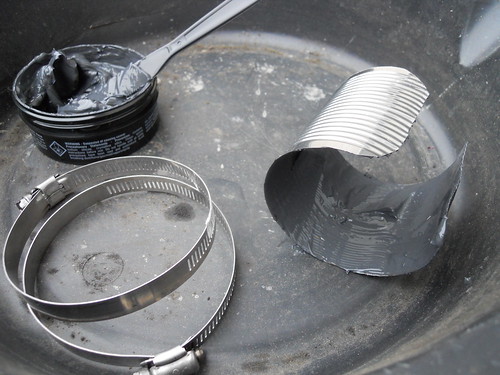
Oetiker clamp repair on my transmission cooler lines. Very sturdy. Clamp doesn't catch on things.

Here I'm using an Oetiker clamp as a blowofff prevention anchor point for safety wire. This is a high pressure AC line that will whip around if it comes loose. I'm combining all kinds of clamps here.

Finally, the king of hose clamps. The crimp ferrule. This type is an AC hose clamp used for freon lines. Heavy duty variants can be used for hydraulic (3000psi) lines. These offer great clamping symmetrically around the barbs. This is a new technology for me. I never was able to afford the tooling to crimp these things. I used to pay dedicated shops to make my hoses. Thanks to Chinese copycats, the $500 tool made by MasterCool has been successfully knocked off and I got one for $114 shipped to my door from Shenzen. Hydraulic crimping power. So I went crazy with these clamps. I rebuilt one car AC system with all new hose to replace cracked rubber lines. Then I made a Frankenstein AC for another antique car that didn't come with AC. And I made oil cooler lines that are no longer made...using modern high pressure EPMD rubber hose. Wow. All for a reasonable price. When the oil cooler lines were available, I paid $300 for a set. Now I made my hoses for $300 including the tooling. Then I went on to make the AC hoses. Thank you China!
Oil Cooler lines

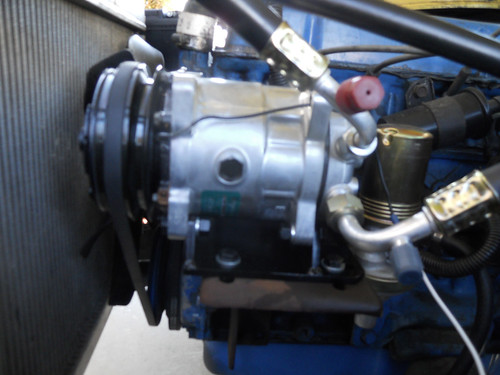
Brand new AC compressor and lines. This was a deal. I bought a Jeep Sanden Compressor (real, not Chinese), parallel flow condenser, Mustang evaporator, hose, fittings, clamps, Nissan Altima Expansion Valve all for $380. Hooked it all together and charged it with $9 of R134a and I have ice cold AC in the cabin. Wow. I can look in my vents and literally see icicles forming on the evaporator tubes. Modern AC tech in a 1965 car.
The clamping tool:
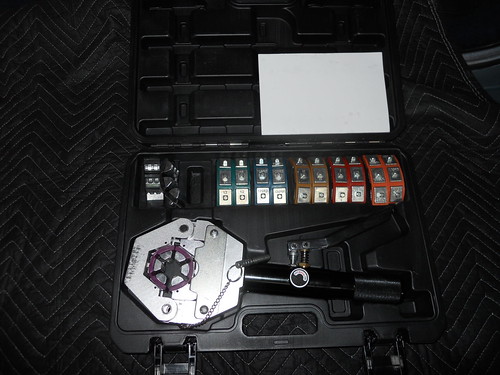
Amazing what we have lost and gained after globalization. While I'm sad to see and American company like MasterCool get ripped off, I'm happy to have these tools in my garage now. You win some lose some. Thanks to MasterCool for producing some great videos on how to use their tool or I'd have never known it existed. Wow, and my Chinese tool came with twice as many crimping dies. Thanks dudes.
https://www.youtube.com/watch?v=ODIEcEV_epM
Ok, and now for something totally different.
I bent up some custom hard AC lines for the crazy twists and turns the plumbing had to make in the car. I used a Harbor Freight tubing bender. I used one of these tools in grad school to make my vacuum system for my thesis research. I hated doing it because it was hard and the tubes just always came out too short or too long and they ended up in the wrong place after several turns. In school I used an expensive bender made by Imperial Eastman. It sucked. After tight bends you couldn't get the tube off the bending mandrel. Now I got this tool for $8 at Harbor Freight. It has a linkage to make the bent tube easy to remove after bending. Cheap and it worked. Uhm...thanks China again. Gawd I'd hate to be in the tool business right now. Everything is getting knocked off.
Look at these kinky bends. Everything lined up. The angle gauge on the tool actually meant something. (old tools 35 deg = 85 deg bend).

Good for bending gas lines in home. Copper tubing. Makes for a very clean looking build.
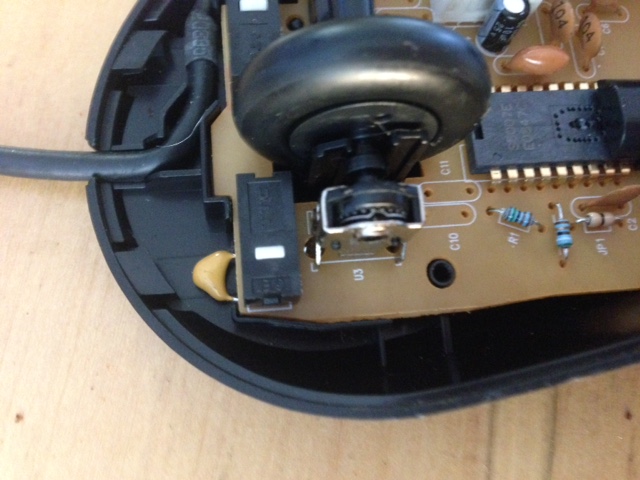
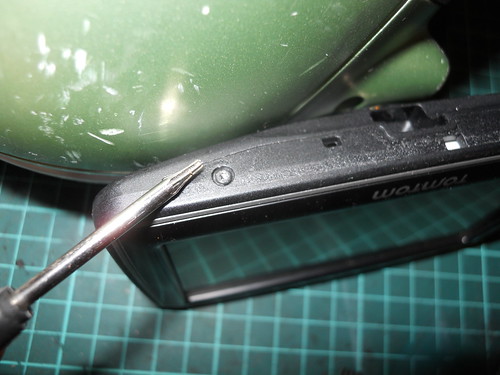
And now for some electronics repair 101. I have this GPS that wouldn't power on. I needed a GPS because my car has a 50 yo speedometer that is 10mph off. I could have used a phone but I figured I'd permanently install the GPS in the vehicle. Problem is it turned on and worked a week and then it stopped powering on. What I gathered was the firmware wedged itself in a funny state. It was on, but it didn't respond to the power button and there wasn't a hard reset button. ARGH! Happened when the battery was low and I tried to start it off the cigarette lighter socket in the car. Reset during low power or dirty power is a tricky game. Especially in multi processor designs. One chip starts before another and the entire system can get out of kilter. Reset chips are an entire industry for electronic systems. Sooooo...the easy thing to do is just open this bricked thing up and try to pull the power and reset it.


Ugh, no screws. Sometimes the toughest parts of fixing electronics aren't electronic at all. Peel up the sticker. There is a tiny torx drive screw hidden in there. And I happen to own the driver. $1 shipped from Shenzen of course.
open it up.

Lift out components in the way of the battery. Screen. etc.

Release flex circuit. this is a necessary skill. Everything uses these connectors now. Slide or flip up the white portion of the connector and slide out the brown flex circuit.

Ahh, and now we can get to the battery. Unplug a few seconds, replug and boot. It worked incidentally. Then reassemble.

Have fun. Learn on things you don't care about destroying.